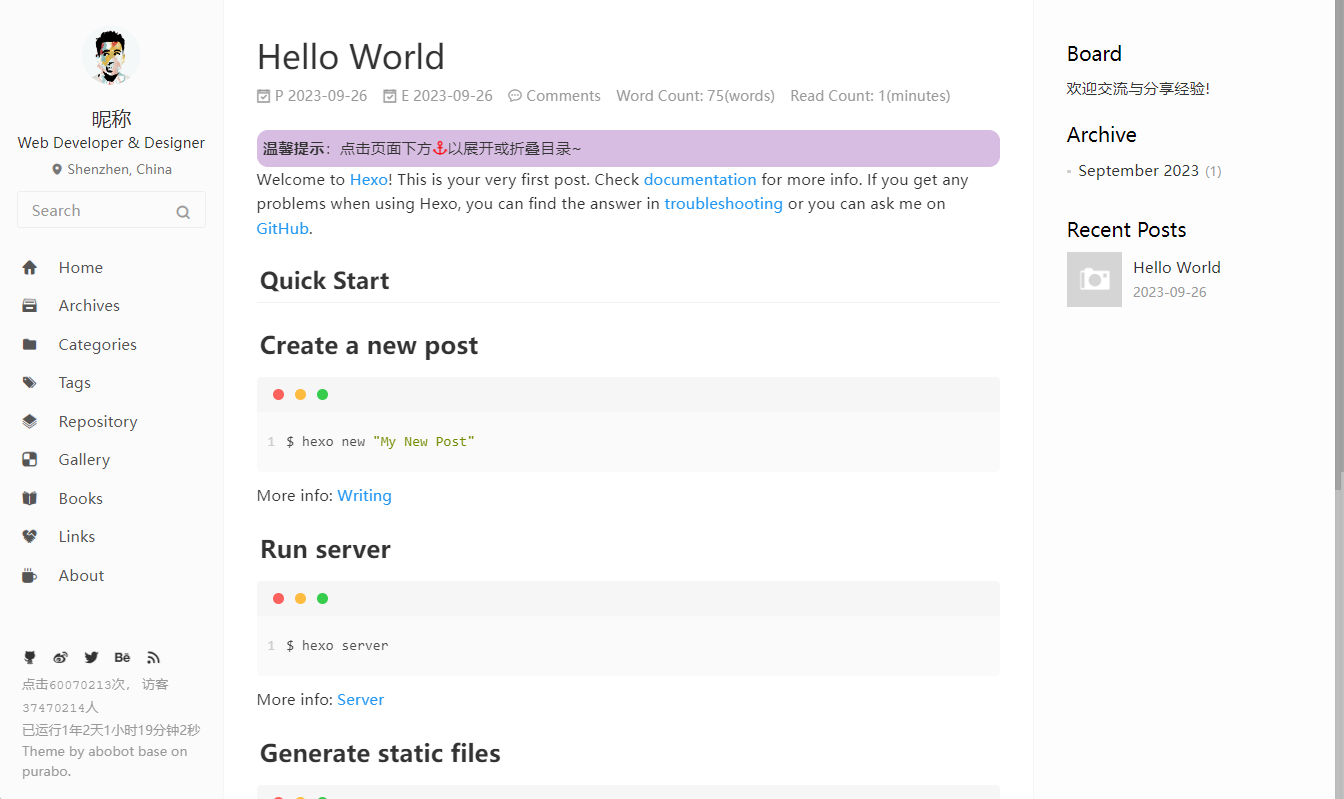
快速开始
安装步骤
2.1 前期准备
确保安装了
node.jsgitnpm
安装Hexo
安装完整版hexo
1 | npm install -g hexo-cli |
2.2 建站
参考 【官方中文文档】
在合适位置打开cmd,输入
1 | hexo init <folder> |
2.3 启动服务器
1 | hexo clean |
“一键三连”之后在http://localhost:4000就可以看到生成的博客了
CTRL + C可以停止服务器
主题
安装purabo主题
- 在
Hexo根目录下,执行命令:
1 | git clone git@github.com:abobot/hexo-theme-purabo.git themes/purabo |
- 更新
1 | cd themes/purabo |
- 使用
修改 Hexo 根目录下的 _config.yml 文件:theme: purabo
必装插件
在Hexo根目录下,执行命令
- (hexo-wordcount)[https://github.com/willin/hexo-wordcount]
npm install hexo-wordcount --save
按照2.3可以看到效果
新建文章
新建页面
默认只开启了,首页和归档,如果你想打开其他页面
分类
hexo new page categories- 打开
source\categories\index.md,在以下位置添加:
1 | --- |
标签
hexo new page tags- 打开
source\tags\index.md,在以下位置添加:
1 | --- |
项目
hexo new page repository- 打开
source\repository\index.md,在以下位置添加:
1 | --- |
相册
hexo new page gallery- 打开
source\gallery\index.md,在以下位置添加:
1 | --- |
书单
hexo new page books- 打开
source\books\index.md,在以下位置添加:
1 | --- |
友链
hexo new page links- 打开
source\links\index.md,在以下位置添加:
1 | --- |
关于
hexo new page about- 打开
source\about\index.md,在以下位置添加:
1 | --- |
404
hexo new page about- 打开
source\about\index.md,将内容改为:
1 | --- |
部署
参考 部署到github
需要安装插件
npm install hexo-deployer-git --save
1. Hexo-theme-purabo-使用教程
2. Hexo-theme-purabo-快速开始
3. Hexo-theme-purabo-主题及站点配置
4. 插件推荐
